Why Class IV Restorations Are So Unforgiving
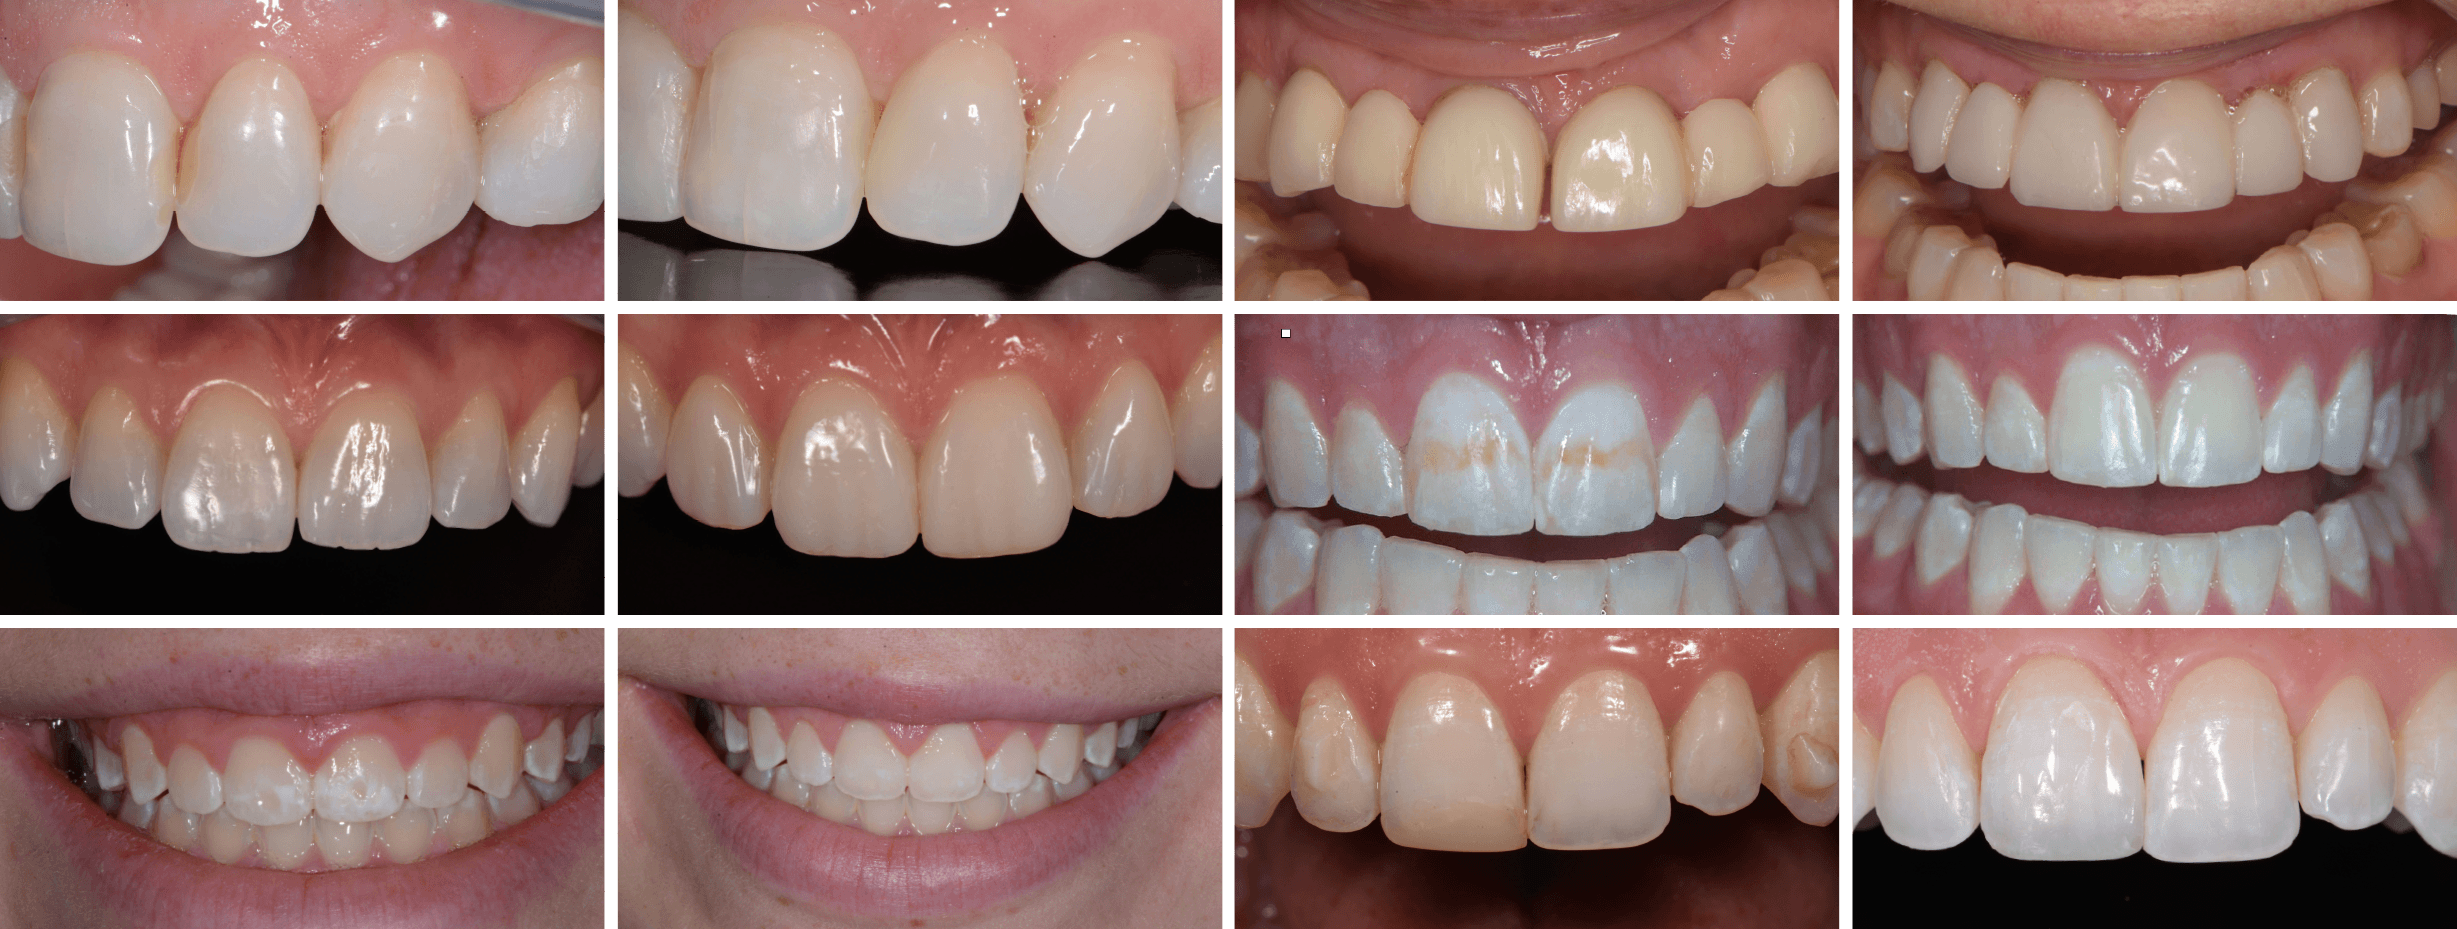
The Class IV anterior composite is one of the most exposed restorations in dentistry. It sits at the highest-traffic visual location in the mouth. Light hits it from every angle. Patients see it in every photograph and every mirror. There is nowhere for a marginal compromise to hide.
And the published evidence is clear about what patients expect: a Class IV restoration that is genuinely indistinguishable from natural tooth structure. No visible margin. No gray cast in the body. No "fake" appearance under different lighting. The clinical literature uses phrases like "imperceptible to the eye" and "masking the fracture line" — standards that, in most general practices, are aspirational rather than reliably achieved.
The reason isn't skill. The general dentists who place Class IV restorations every week are technically competent. The reason is sequence. Most clinicians were trained on a Class IV layering protocol that produces an acceptable result that is functional, sealed, and reasonably matched in shade, but not undetectable. The gap between acceptable and undetectable is the entire problem.

Five repeatable techniques that make everyday restorations look advanced.
Why Most Class IV Restorations Reveal Themselves
The Class IV failure pattern is consistent across thousands of cases I've reviewed in lectures and consultations. Three things go wrong, almost always together.
First, the restoration is built flat. Most of us were trained to layer composite as a single mass: dentin shade, then enamel shade, then cure. The result is a restoration with no internal dimension. Real enamel scatters light through internal variation: dentin lobes of slightly different values, mamelons, surface irregularities that bend incoming light. A composite built as a uniform mass bounces light back as a flat plane. The eye reads that as artificial before it can articulate why.
Second, the bevel design creates a hard transition. The standard textbook Class IV bevel is a long, smooth chamfer along the fracture margin. It works for retention. It also creates a clean, geometric line where the composite meets the tooth, exactly the kind of line the eye is most likely to find. The bevel becomes the giveaway.
Third, the polish protocol removes the surface anatomy that would have masked the margin. Natural enamel has lobes, fossae, and horizontal surface lines. Most polish protocols target high gloss, which strips all of that away. A glassy-smooth Class IV surrounded by textured natural teeth reads as plastic, even when the shade match is otherwise good.
Island Layering and the Starburst Bevel
The technique that solves this is called Island Layering, paired with a modified bevel design called the Starburst Bevel. I developed island layering over a decade of refining anterior composite work in my own practice and utilized starburst beveling, and I've taught them to general dentists across the country and internationally.
The core idea is to address each of the three failure modes in sequence, using a workflow that doesn't add chair time.
Island Layering replaces the conventional flat-layer approach. Instead of building the restoration as a uniform mass, small islands of bright opaque straddle the fracture line. The islands give the restoration internal dimension. Light scatters through it the way it does through real enamel, not because the composite has changed, but because its internal structure now mimics natural tooth variation. The dentin and enamel are placed in variegated layers, also scattering light like natural tooth structure.
The Starburst Bevel replaces the conventional smooth chamfer. Instead of a clean geometric line at the margin, the bevel is broken into irregular, radiating extensions: the kind of pattern you'd see if a real tooth had genuinely re-mineralized along the fracture. The eye stops finding the margin because there isn't a clean line for it to find. The transition between composite and tooth becomes diffuse and biological-looking rather than geometric.
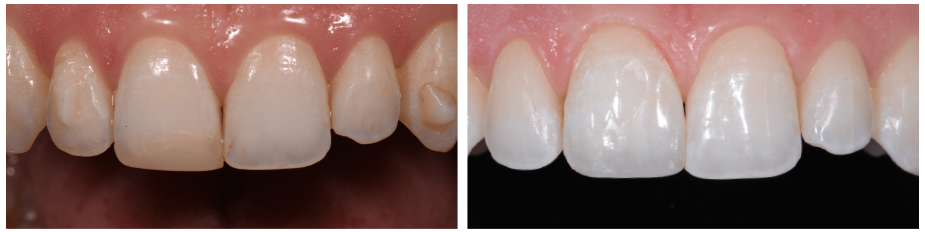
The polish protocol that goes with these two techniques preserves surface anatomy. It's a five-minute sequence at the end of the case that uses coarse diamonds and pinwheel polishing instruments to put lobes, fossae, and horizontal surface lines back into the composite. Combined with the internal dimension from Island Layering and the diffuse margin from the Starburst Bevel, the restoration reads as enamel, even in side-by-side photographs.
What This Looks Like in Practice
Two practical points worth flagging for any general dentist considering this approach.
First, the technique uses only two tubes of universal composite. There is no need for a stocked rack of dentins, body shades, opaques, and incisal translucents. The internal dimension comes from how the composite is placed, not from how many shades are involved. This matters for general practices that don't have inventory budgets for advanced cosmetic composite systems. The Island Layering approach works with a universal composite the dentist almost certainly already has.
Second, the entire restoration takes me under forty-five minutes of chair time. Not the ninety minutes most dentists assume an esthetic anterior Class IV requires. The technique is faster than what most general practices are doing now, not slower, because the sequencing is more efficient: fewer increments, simpler material selection, and a polish protocol that ends in five minutes rather than fifteen.
The patient I described at the top of this article walked out of my Pittsburgh office with a new Class IV restoration on tooth #8 in about forty-five minutes. She came back two weeks later for a routine follow-up and told me she had been photographed at a wedding the previous weekend. The first time in a decade she hadn't turned her head.
Where to Learn the Technique
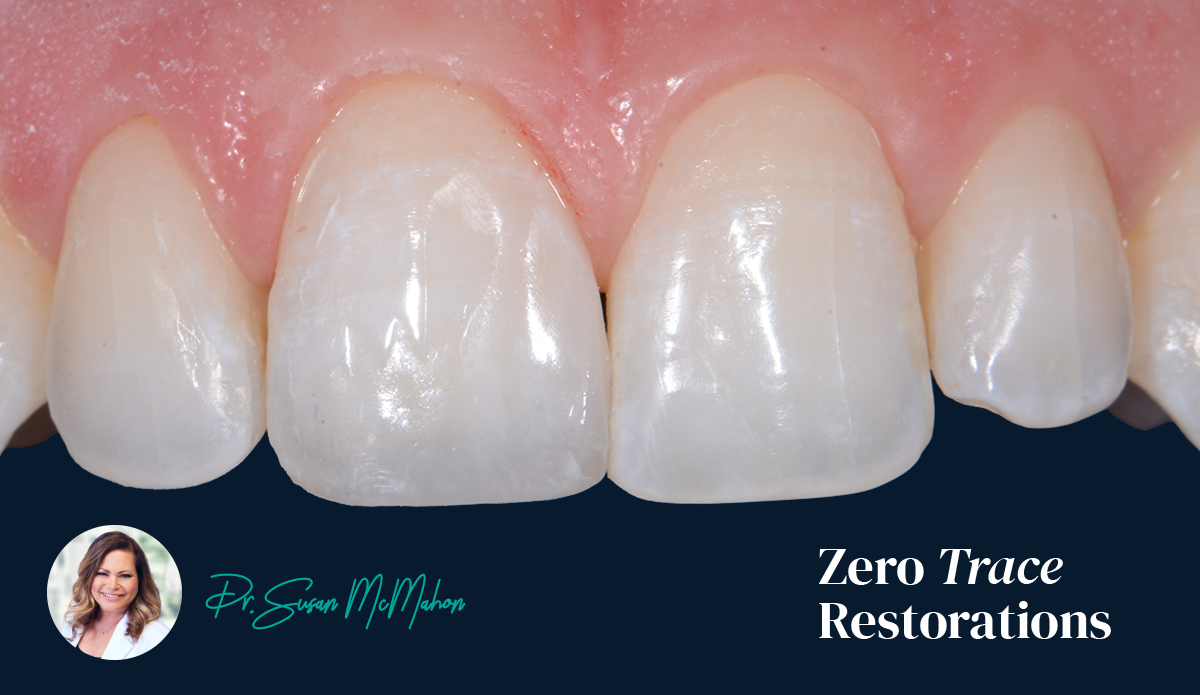
Island Layering and the Starburst Bevel are two of the techniques I teach in Zero Trace Restorations, my online CE course series starting on Tuesday, September 15th. Each module is sixty minutes, covers the complete Class IV sequence — the layering protocol, the Starburst Bevel preparation design, and the polish workflow that preserves surface anatomy — and walks through case examples in real chair time.
The course is built for general dentists. The technique uses two tubes of universal composite you almost certainly already have. The full restoration finishes in under forty-five minutes. There is no specialty equipment required.
The full series is five modules, $1,475, with five AGD-PACE-approved CE credits. Module One is also available as a single-module purchase at $395 for general dentists who want to try the format first.
One Last Thought
A Class IV restoration that the patient can see is, functionally, a failed restoration, even if it's technically sound. Patients don't evaluate dentistry the way we do. They evaluate it by whether they smile in photographs.
The technique that closes the gap between technically sound and genuinely undetectable isn't a different material or a longer appointment. It's a different sequence and placement technique. Once the sequence is right, the work changes. And the patient stops turning her head in photographs.